How to Set Up Email Me on Apple Watch
Install the Email Me app on your Apple Watch, sync your recipients, and capture audio and text notes right from your wrist.
Tutorials
 July 25, 2026 by Manuel Escrig · 3 min read
July 25, 2026 by Manuel Escrig · 3 min read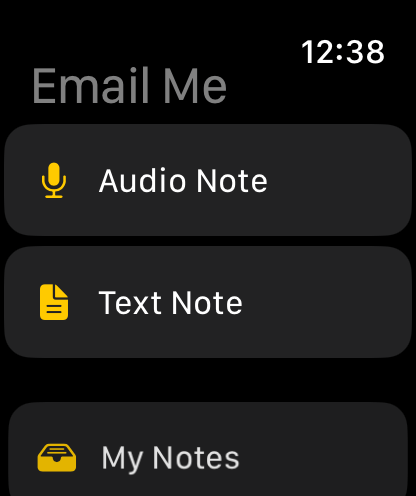
Why Email Me on Your Wrist
Your Apple Watch is the fastest capture device you own — it's already on you, always awake, and just a raise of the wrist away. With Email Me installed, it gets even better:
- Capture ideas in seconds. Raise your wrist, tap, and dictate — no need to dig your iPhone out of your pocket.
- Your notes land in your inbox. Audio and text notes are emailed straight to you, so they're waiting on the device where you actually work.
- Perfect for on-the-go moments. Out on a run, in the kitchen, walking the dog — your wrist is always available.
Step-by-Step Guide to Setting Up Email Me on Apple Watch
Step 1: Install Email Me via the Watch App on Your iPhone
Open the Watch app on your iPhone and stay on the My Watch tab. Scroll down to Available Apps, find Email Me, and tap Install. After a few moments, the app icon appears on your watch.
Step 2: Open Email Me on Your Watch
Press the Digital Crown, find Email Me, and open it. You'll see the main menu with three options: Audio Note, Text Note, and Settings.

Step 3: Sync Your Recipients from Your iPhone
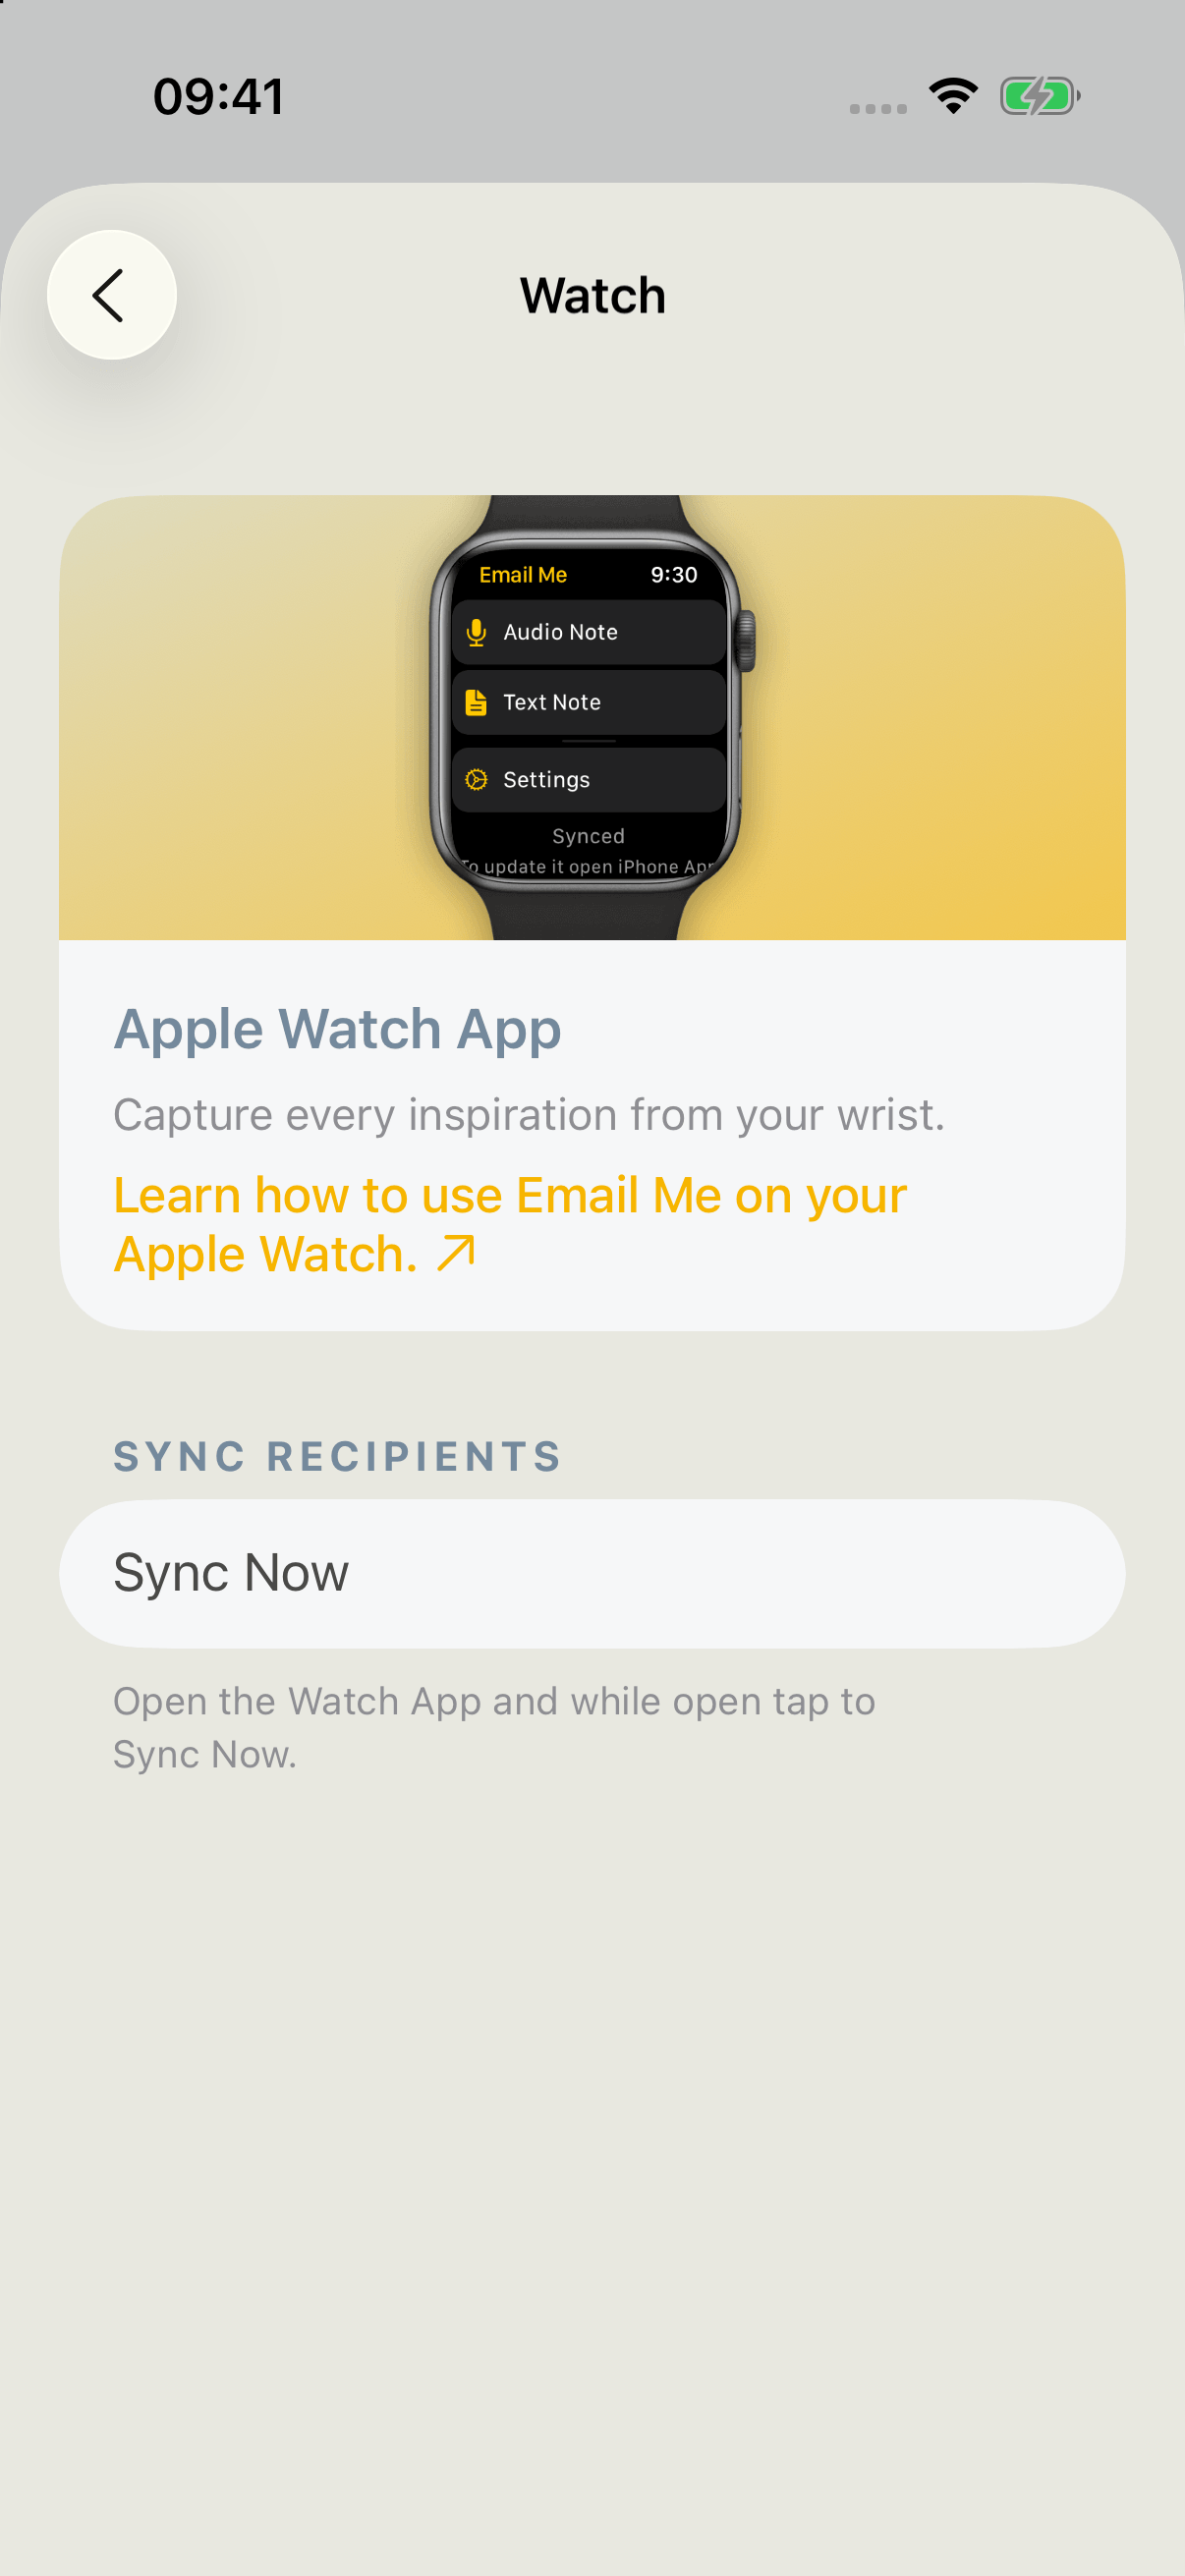
With the watch app open, grab your iPhone and open Email Me. Go to Settings > Watch > Sync Now to send your recipients over to the watch. Keep the watch app open while the sync runs — it only takes a moment.
Step 4: Record Your First Audio Note
Back on the watch, tap Audio Note, speak your thought, and send it. A few seconds later it lands in your inbox — captured, done, and out of your head.
Step 5: Optional — Set an On Open Action
If you always use the same note type, open Settings in the watch app and choose an On Open Action. From then on, Email Me jumps straight into recording the moment you open it — one less tap between you and your idea.
Tips for a Faster Wrist Workflow
- Add a complication. Put Email Me on your watch face so a single tap opens the app — combined with an On Open Action, you're recording in under two seconds.
- Re-sync after changes. If you add or edit recipients on your iPhone, run Sync Now again so your watch stays up to date.
- Speak, don't type. Dictation on the watch is remarkably good — trust it for quick notes and let your inbox catch the results.
Your Watch, Your Inbox, Zero Friction
Setting up Email Me on your Apple Watch takes two minutes, and from then on every stray idea has a home. No unlocking, no app hunting — just raise your wrist, talk, and move on with your day.
Keep on sending notes ✨
Did this guide make your life a tad easier? I'd love to hear about it! If you have any questions or just want to share your thoughts, don't hesitate to reach out. Thanks for stopping by. Here's to making note-sending a breeze and adding a dash of fun to your day 🚀 Keep on sending those notes and making the most of every moment! 💫
Cheers,
Manuel Escrig
 Share on Facebook
|
Share on Facebook
|
 Share on X