Introduction
Knowing how to record voice notes on your iPhone can be a game-changer for busy professionals, students, and anyone needing to capture ideas, thoughts, or important information quickly. While the iPhone has a built-in Voice Memos app, sometimes you need an even faster way. This guide explores quick methods, focusing on the efficient Email Me app for recording and sending audio notes effortlessly. Whether you're in a meeting or just need a quick reminder, mastering voice note recording on your iPhone saves time and hassle.
In this blog post, we'll primarily focus on using the Email Me app as a streamlined solution to record voice notes on your iPhone. We'll also share tips to help you get the most out of voice recording.
Voice Notes on iPhone: Your Two Main Options
The iPhone gives you two ways to record voice notes: the built-in Voice Memos app, and dedicated capture apps like Email Me. Voice Memos is great for long recordings you want to keep on the device. Email Me is built for quick capture: it records, transcribes, and emails the note to your inbox in one step.
| Voice Memos | Email Me | |
|---|---|---|
| Where the note ends up | Stored inside the app | Delivered to your email inbox |
| Transcription | Only on iOS 18+ and newer devices | Automatic AI transcription |
| Taps to capture and file a note | Record, stop, then share manually | Record and send in two taps |
| Best for | Long recordings, interviews | Quick notes, reminders, ideas |
How to Quickly Record Voice Notes on iPhone
Recording voice notes on your iPhone is a straightforward process that only takes a few taps. Here's how to do it:Install and configure the Email Me app on your iPhone
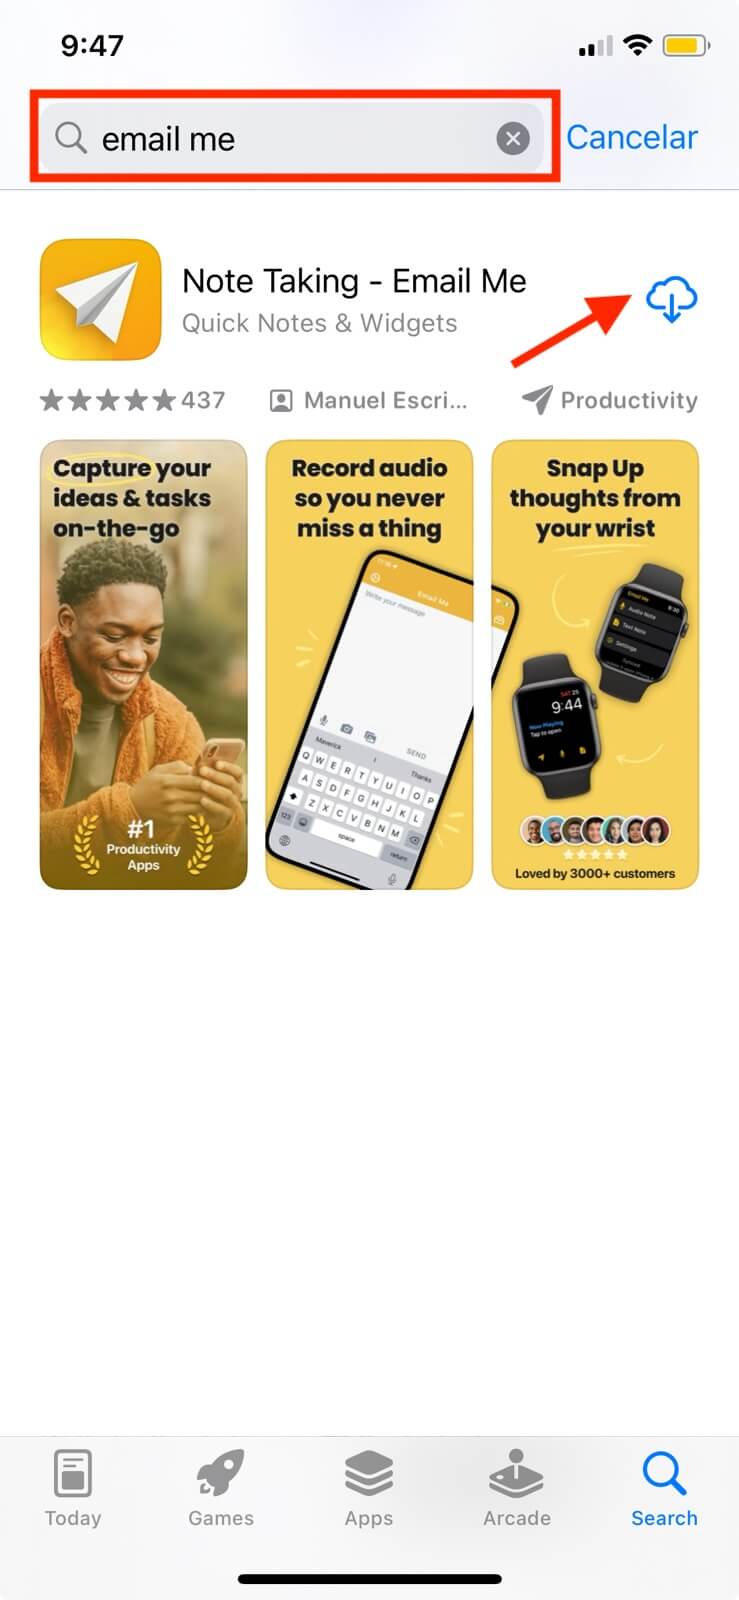
First, open the App Store App to search for Email Me and download the App. Once installed, add a new recipient with your email address.
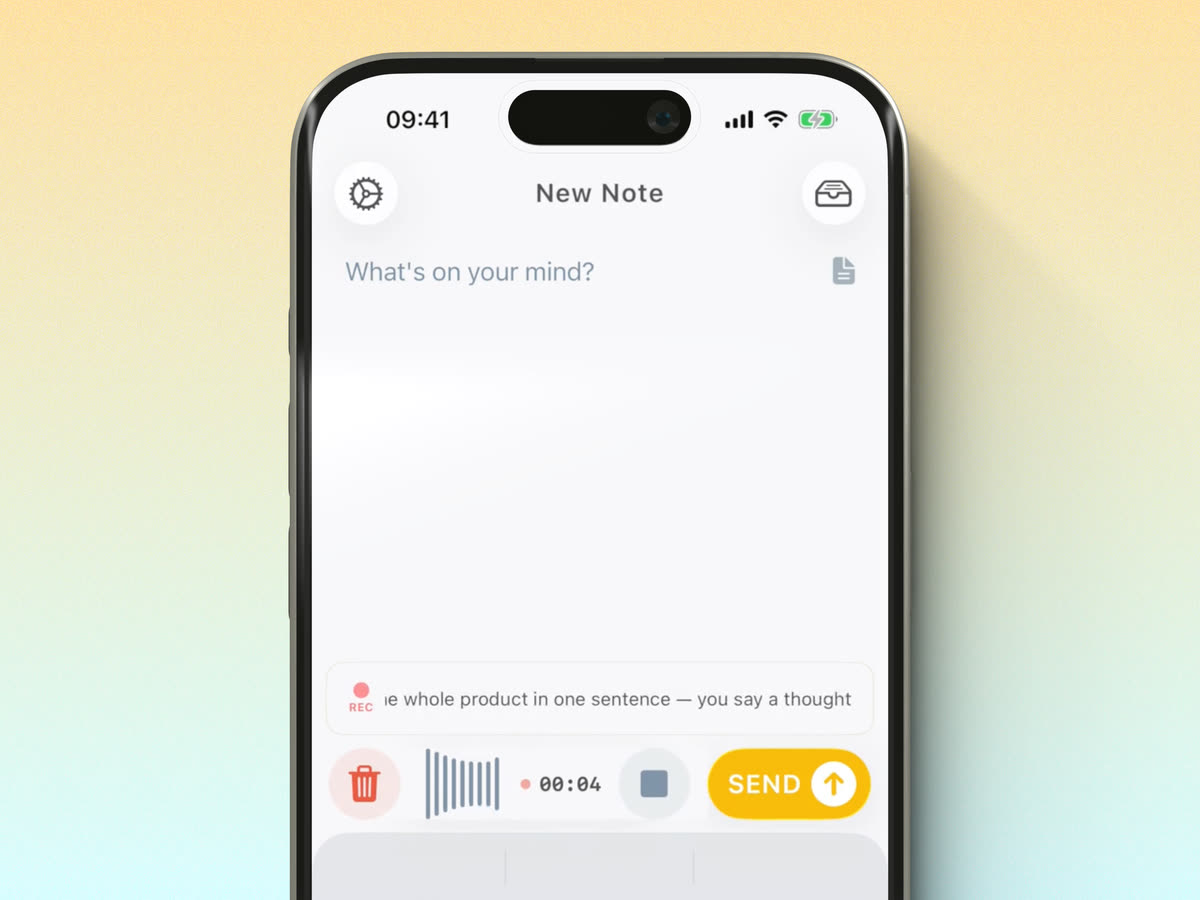
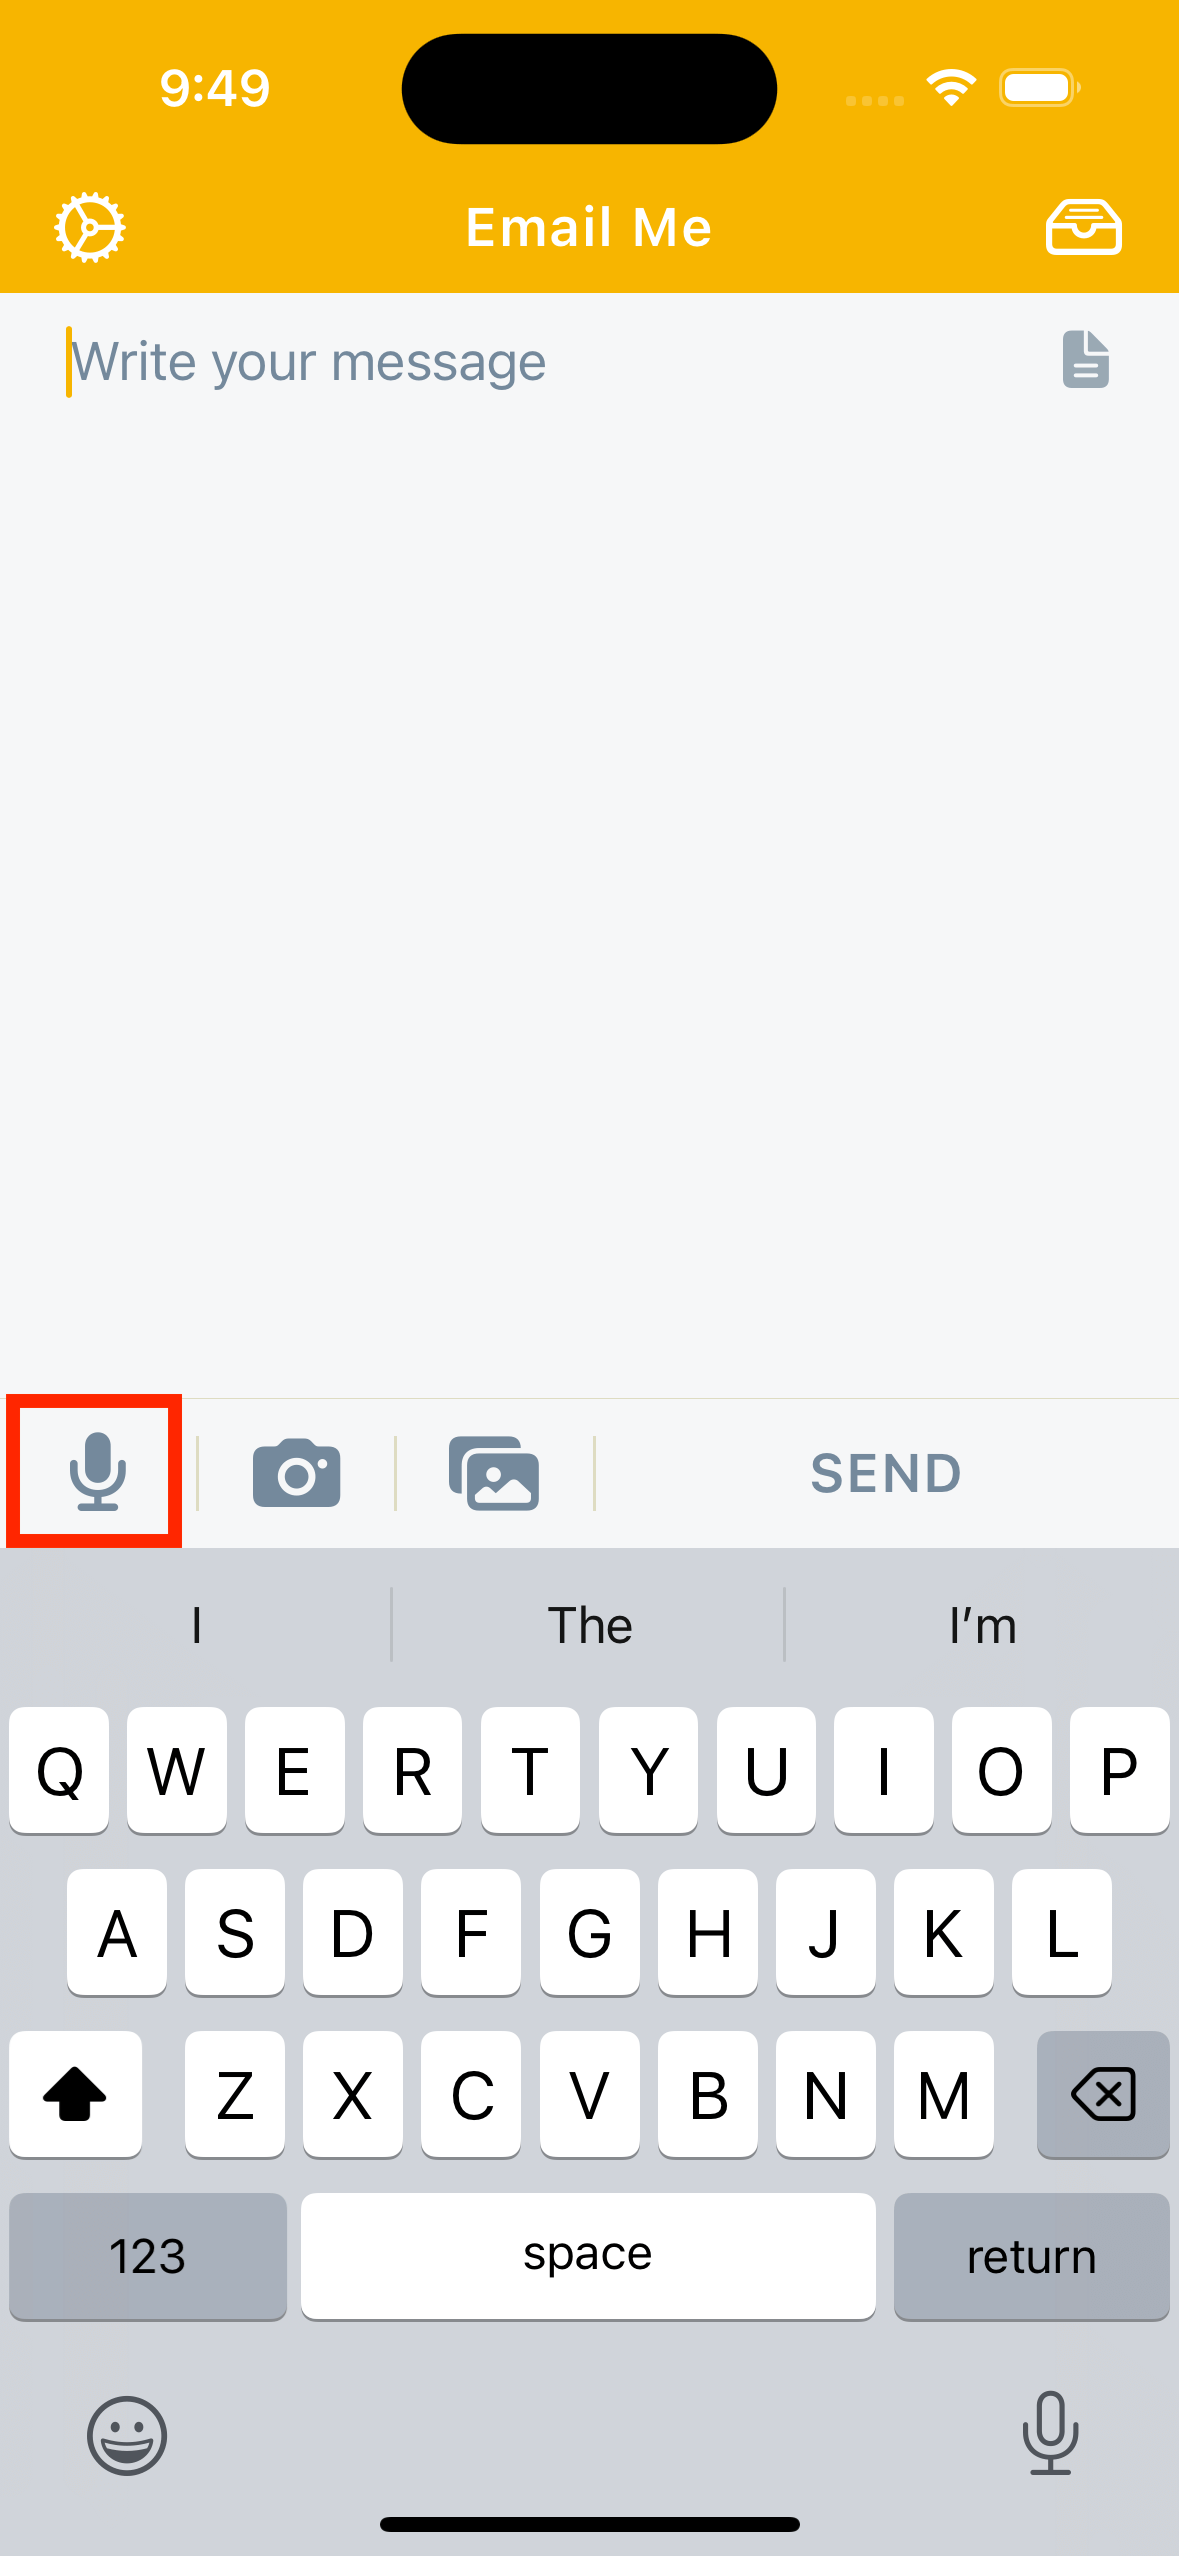
Tap the "Microphone" button to start recording your voice note
When you're done, tap the "Send" button to end the recording and send it
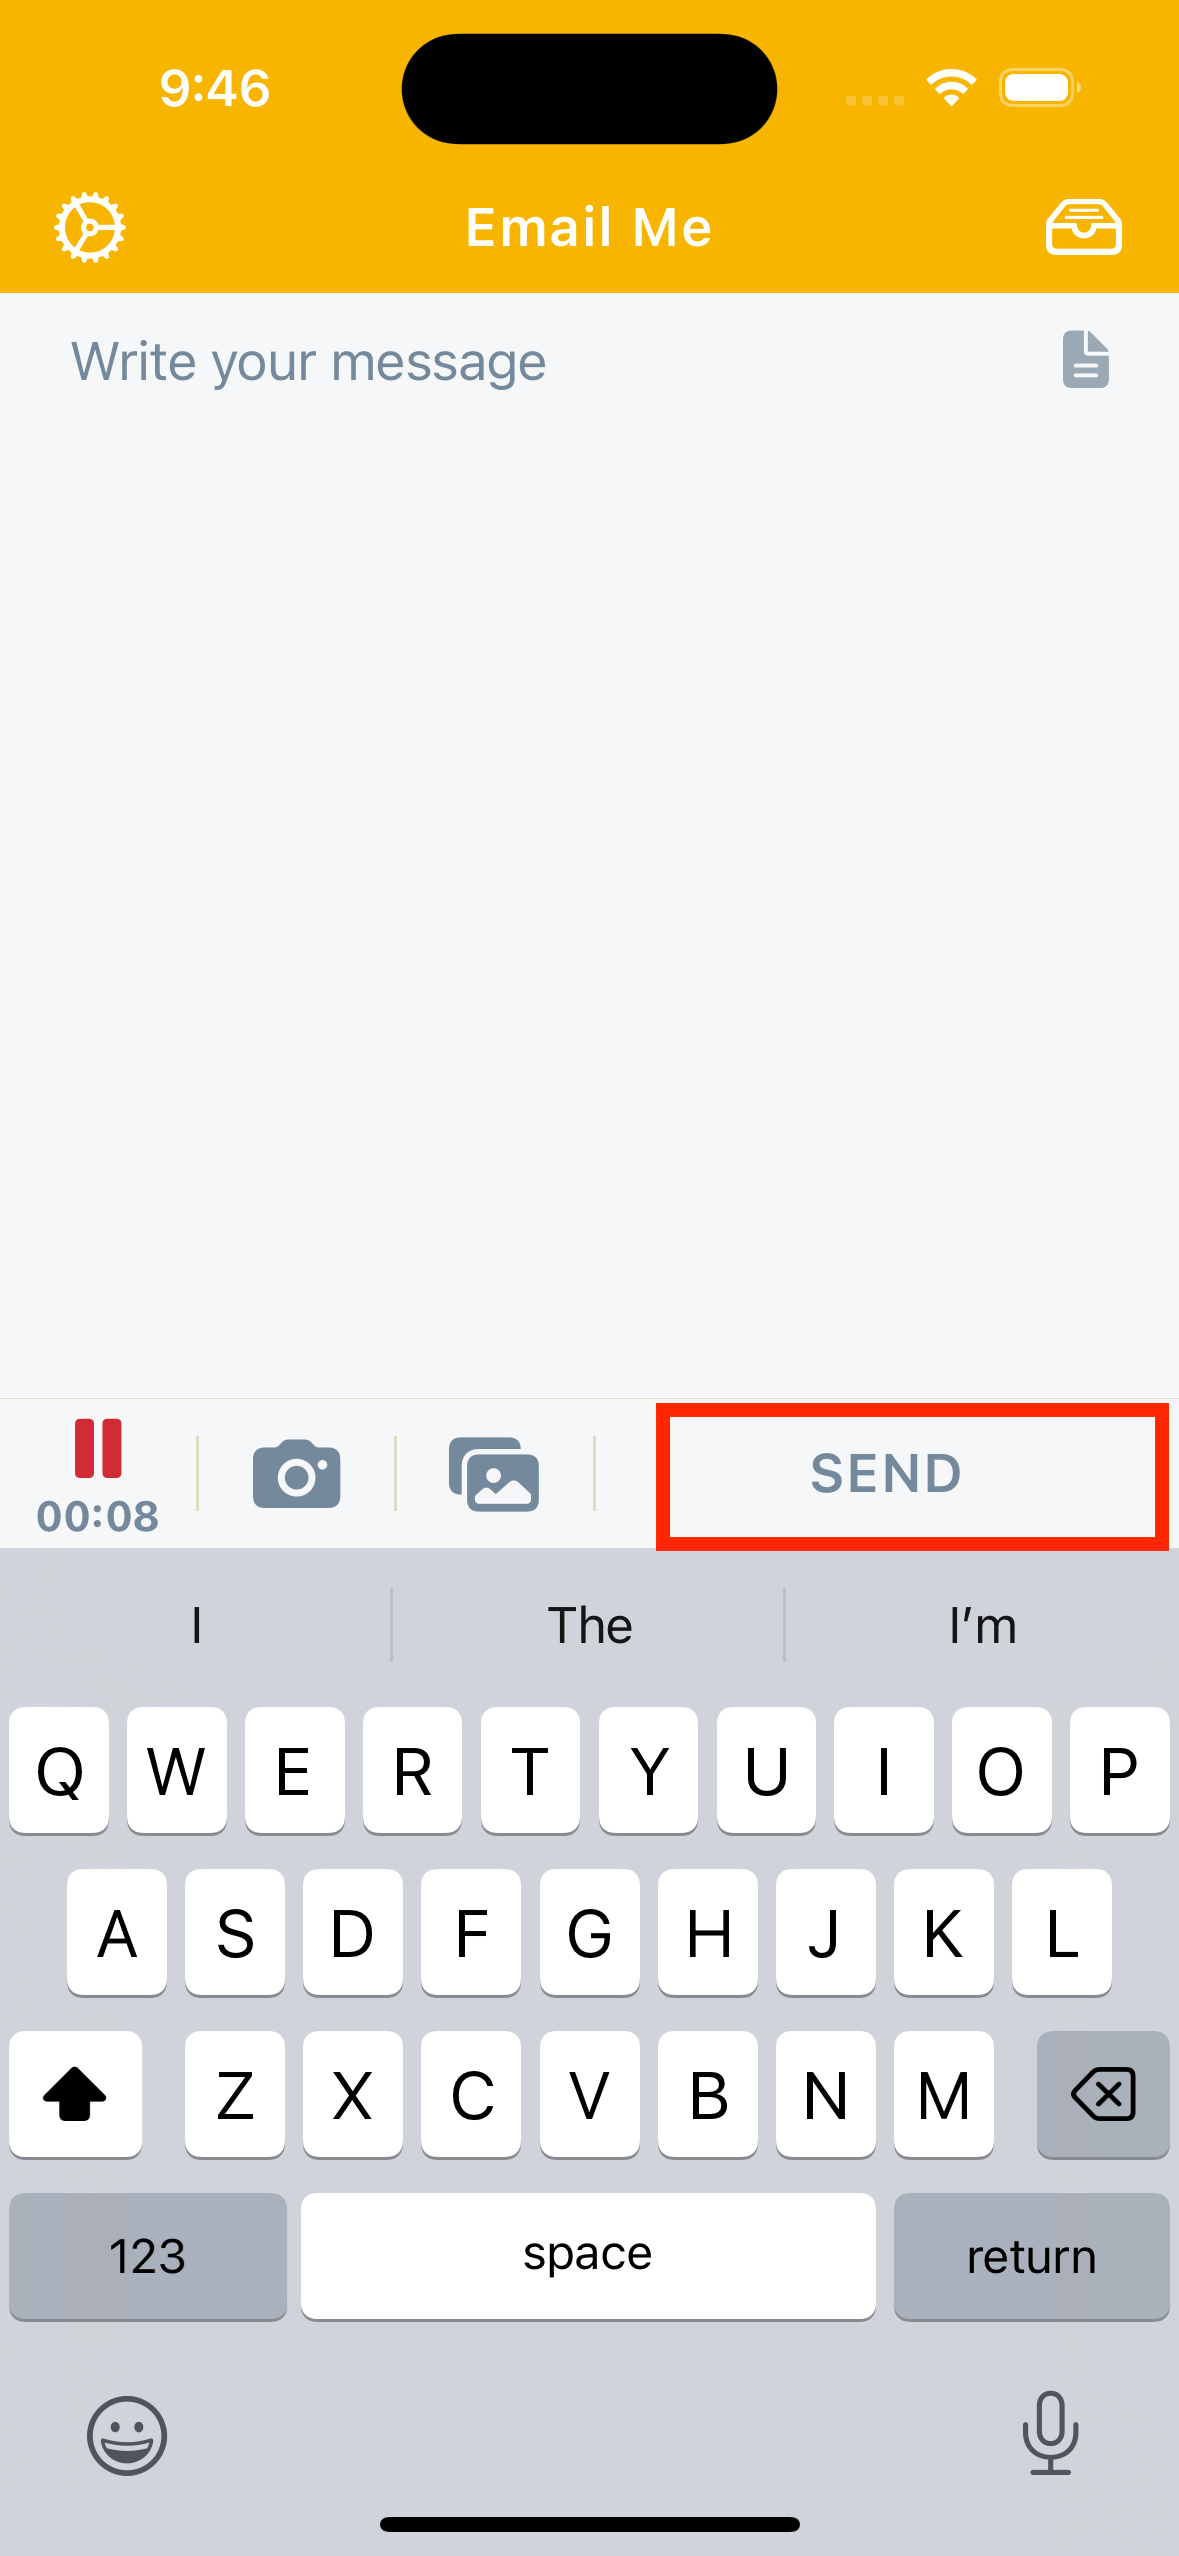
That's it!
The app will automatically create and send a new email note with your voice note attached and transcribed.
Tips for Effective Voice Note Recording
Here are some additional tips to help you get the most out of recording voice notes on your iPhone:
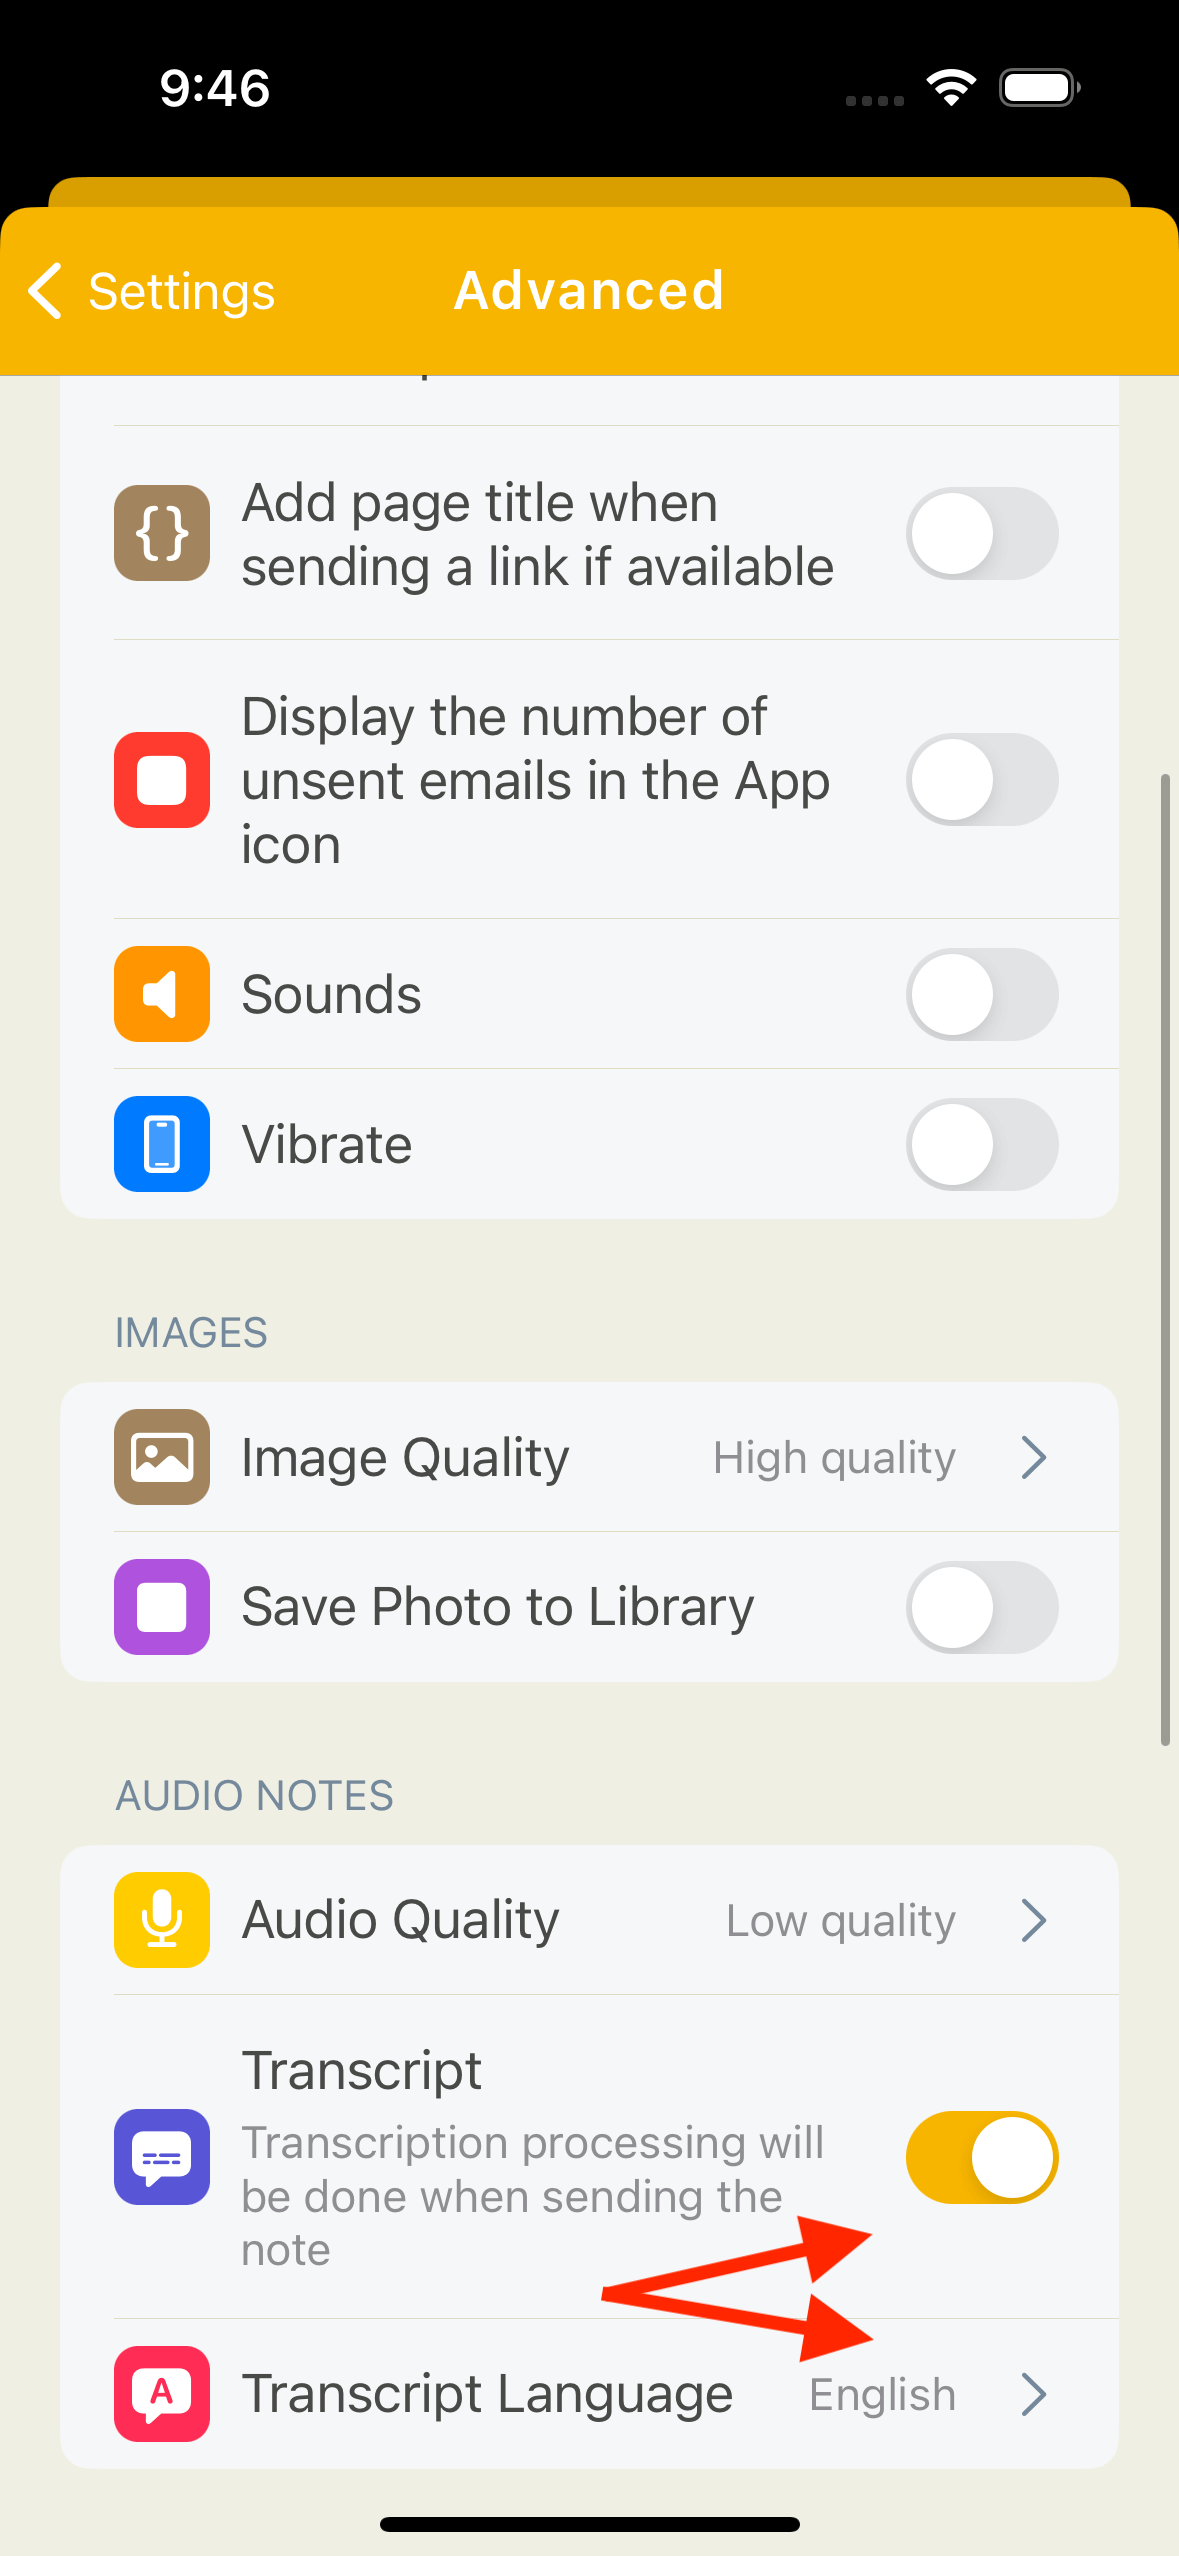
Enable Automatic Transcription
Automatic transcriptions are enabled by default, you can disable them or change the transcription language in the Settings -> Advanced Settings screen.
Record Hands-Free
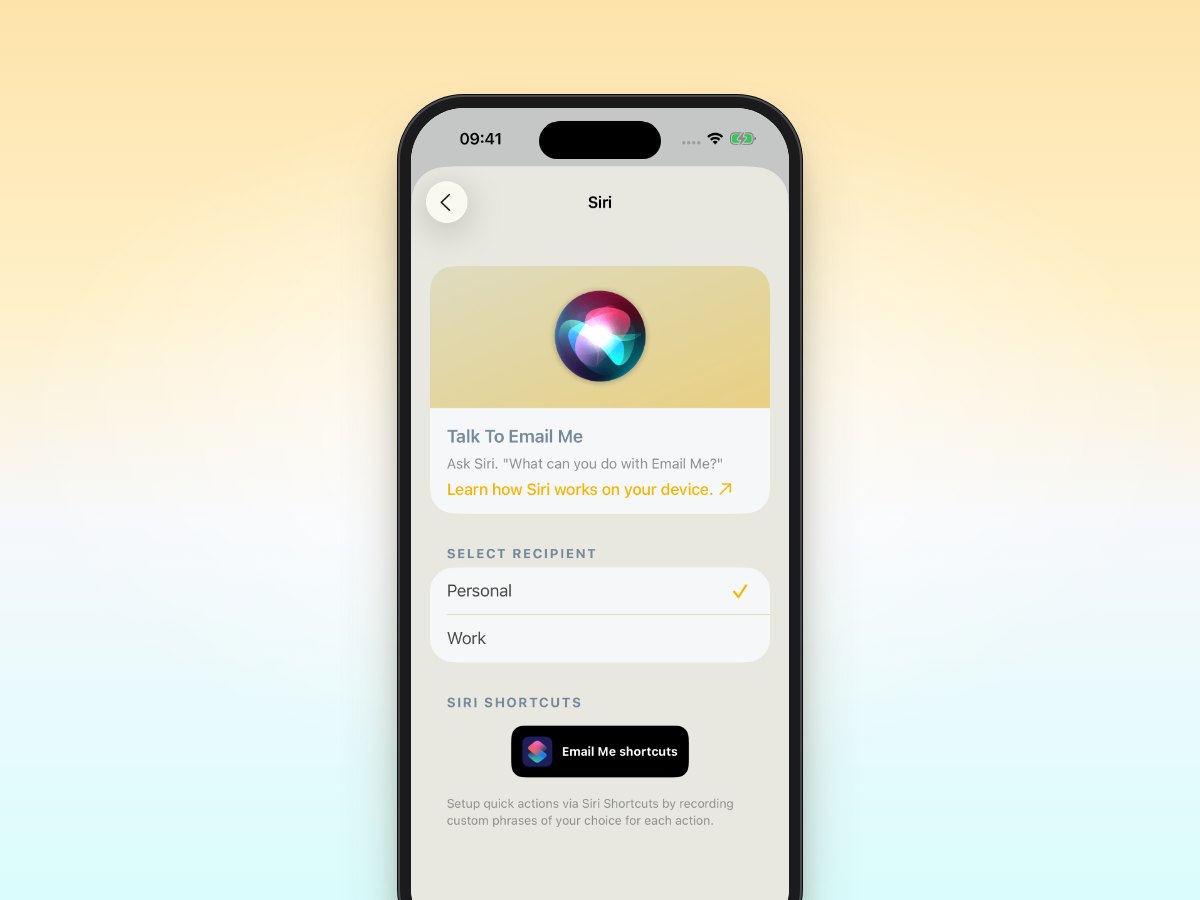
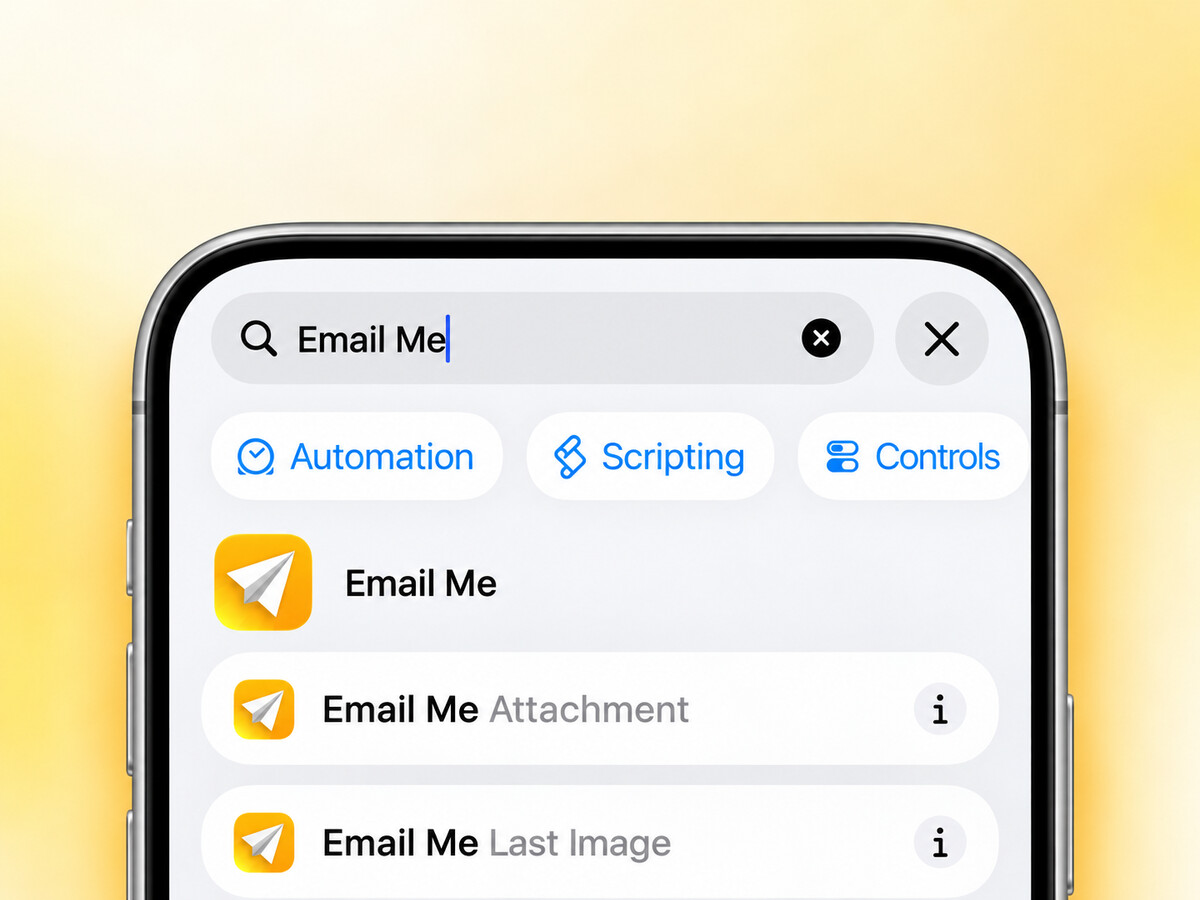
If your hands are full, you can use Siri to start and stop voice note recordings. Just say "Hey Siri, create a Email Me audio note".
Conclusion
Recording voice notes on your iPhone is a simple and effective way to capture ideas, thoughts, and important information on the go. By following the steps outlined in this post and leveraging some of the advanced features, you can quickly and easily create high-quality voice notes that will help boost your productivity and efficiency.
Thanks for reading the article and please let me know if you have any questions about using this or any other feature using Email Me App. Here's to making note-sending a breeze.
Best,
Frequently Asked Questions
How do I record voice notes on iPhone?
Open Voice Memos and tap record, or in Email Me tap the microphone button, speak and tap Send.
How do I email a voice recording from my iPhone?
With Email Me, the recording is attached and transcribed in a new email to you as soon as you tap Send.
What's the fastest way to take voice notes?
Email Me opens ready to record and sends the note to your inbox in two taps.
More ways to send things to your inbox: the complete guide to emailing yourself.
Manuel Escrig